Uroplatus Leaf Tailed Geckos in Dragon Strand Cages
Uroplatus Leaf Tailed Geckos in Dragon Strand Cages
by Luis Wiedemann
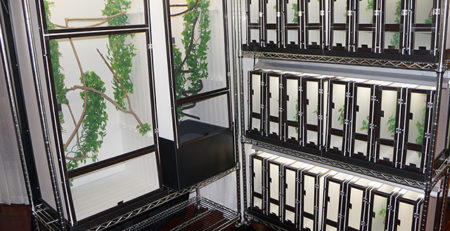
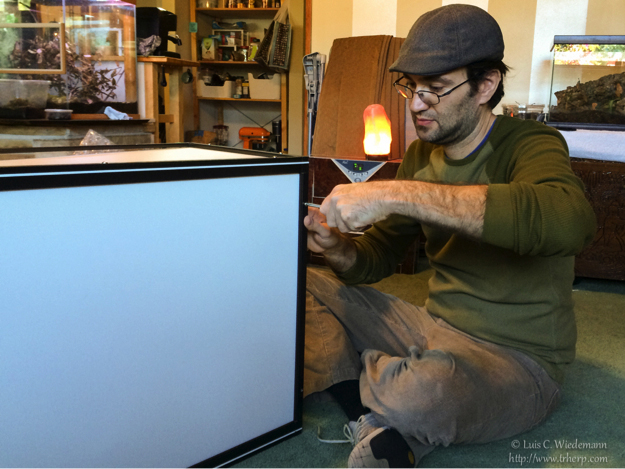
One of the most important (if not the most important) elements in successfully caring for reptiles is proper housing. This is especially true when working with species that require specific environmental conditions in order to thrive in captivity. Take the Leaf Tailed Gecko (Uroplatus) for instance. They require conditions similar to that of montane chameleons and will suffer if the temperatures sustain above 82-84°F for long durations of time. Also, many keepers often keep their Uroplatus in naturalistic vivaria, which poses a whole other set of challenges that must be met in order to see long-term success. For instance, one of the more difficult aspects of glass caging is maintaining the balance of proper hydration and enclosure saturation. With the amount of misting and hydration leaf tailed geckos can require, how do we prevent the substrate layer from turning into a potentially dangerous muddy bog? While the glass sides prevent overspray from leaving the enclosure, this is not the case with traditional screen enclosures. How do we handle the excess water that needs to leave the enclosure? In the past, these issues have been addresses with a number of DIY methods to modify stock enclosures (drilling glass for drainage is the pits!) but what if there was a better way? In steps the Dragon Strand Breeder Series enclosure. When I was asked to test out these enclosures for housing Uroplatus, I was ecstatic. I saw the enclosures online a few weeks prior and just couldn’t wait to get my hands on one. If glass enclosures were considered the heavyweight in the group of options, then this enclosure surely is the versatile and agile featherweight of the bunch. The weight differential is just too much to ignore. The solid sides eliminate the issue of nose rub which happens when particularly aggressive hunters are housed in screen enclosures and the substrate and drainage trays truly make setup that much easier and consistent. The plastic panels enable easy installation of misters in a variety of positions while keeping the end result easy to maintain and visually appealing. My one and only concern was the “blank canvas” appearance of the enclosure walls but we run into the same issues with plain glass/screen walls. I figured we could apply the same techniques that we use in glass enclosures to make this a fully functional yet visually appealing enclosure to house a group of Uroplatus. Assembly was rather self-explanatory and painless. The enclosure screws together just like the traditional screen enclosures.

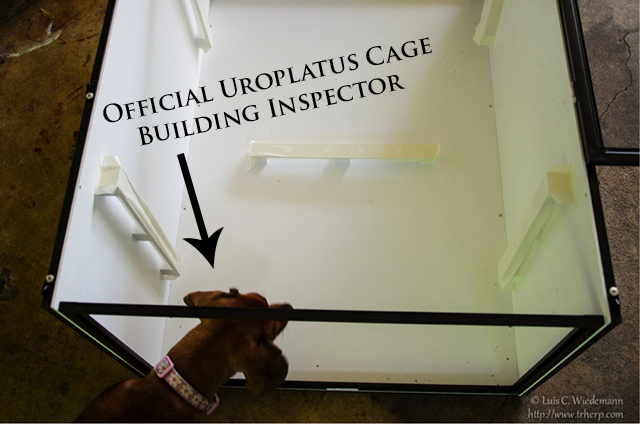
Now that the enclosure has been assembled and inspected (officially), we can begin hiding all of this white. For this project I chose to work with Great Stuff, which is expandable foam that can be found in most big box hardware stores. As seen above, I began by taping the branch holders in case I wanted to utilize them in the future. These useful branch holders provide the benefit of offering a secure anchor in case a horizontal perching branch or decoration is desired at various levels above the cage floor. You have the option of installing any or all of the branch holders depending on your specific design. My design has the branch holders installed, as I wanted to retain the ability to easily add branches in the future. Design yours to your own taste.
The next step is where things can get fun…and messy! Be sure you wear clothes you don’t mind throwing away and it’s always a good idea to have protective eye wear and rubber gloves, just in case. This stuff does not come off of clothes and will stick to skin like crazy glue. You’ve been warned. 🙂

Once the foam has cured, it will be very solid. You can carve, sand and sculpt the foam to any desired shape or texture. You imagination is the limit here. For the sake of time (and preference) I chose not to do any further modifications. I do like the texture the foam produces on its own and once it’s covered with silicone and coco coir, it really begins to look nice. Admittedly, it is a little tougher to reach all of the nooks and crannies so smoothing it down may make this step a bit easier for the some. 🙂
Again, wear rubber/latex/nitrile gloves when doing this stuff. It’s better than having to wipe off silicon from your skin and the stuff doesn’t wash off very easily.
Apply the silicon over a good portion of the area to be covered. I work in sections so the silicone doesn’t dry before I have a chance to place the coco coir over it.

Next, dump a good amount of very dry coco coir over the wet silicon. You want it cover the entirety of the wet silicon with a ½” layer on top of it all. Really push the coir into the gaps and crevices so you don’t have to go crazy with touch ups later.
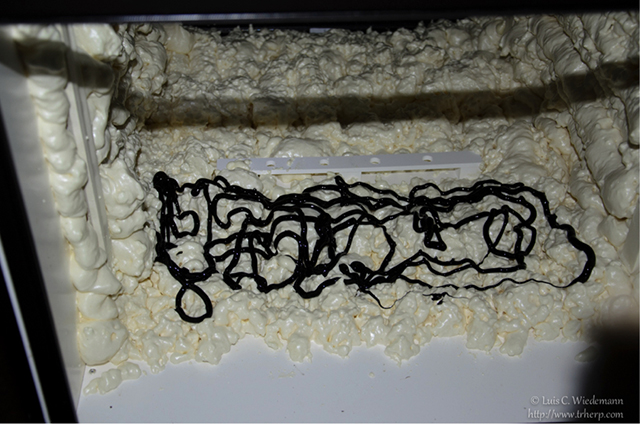
Use a clean shop vac to remove the excess coco coir and to expose those crevices that didn’t get covered. Once all of the excess has been vacuumed off, continue with another section, wait, vacuum and repeat. Once completed you should have something that resembles the following image. Notice the crevices that will require touching up after the initial covering.

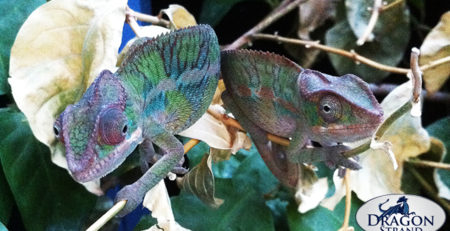
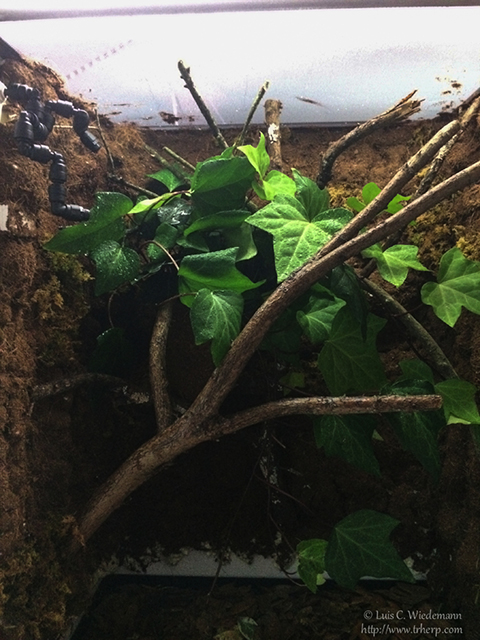
I used live fern moss to hide most of the crevices. This breaks up the appearance of the coco coir with a lovely splash of green life.

Once the foam was covered, it should look similar to this..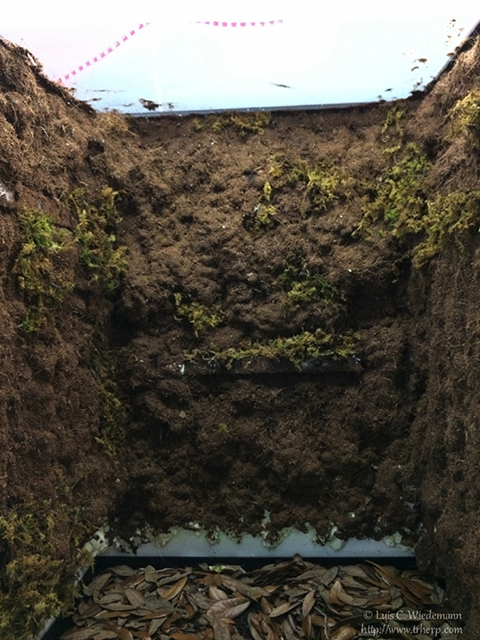
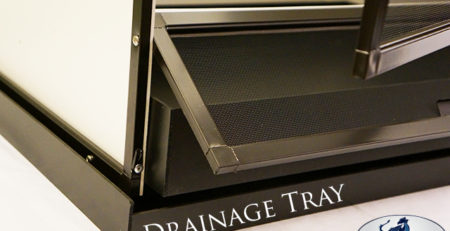
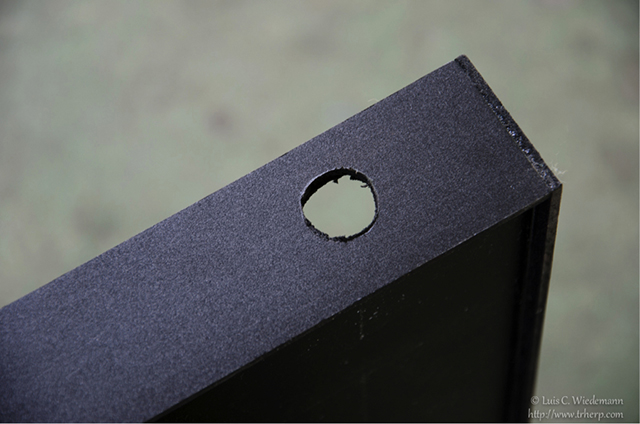
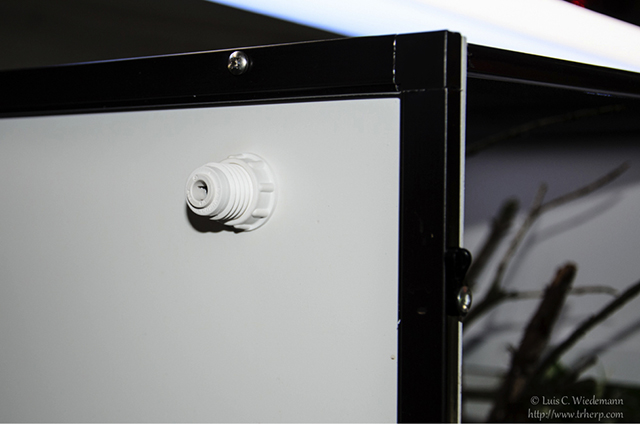
The next thing we need to do is take care of the substrate and drainage trays. I installed a ¾” bulkhead on the backside of the drainage tray to prevent any potential overflow.


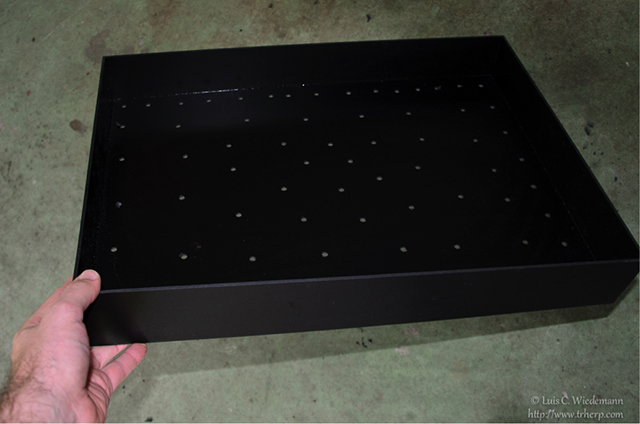
With the drainage tray out of the way, we need to move onto the substrate tray. In order for the water to pass through the substrate and not linger too long we need to drill a few drainage holes. I say a few but really I meant many. 😉

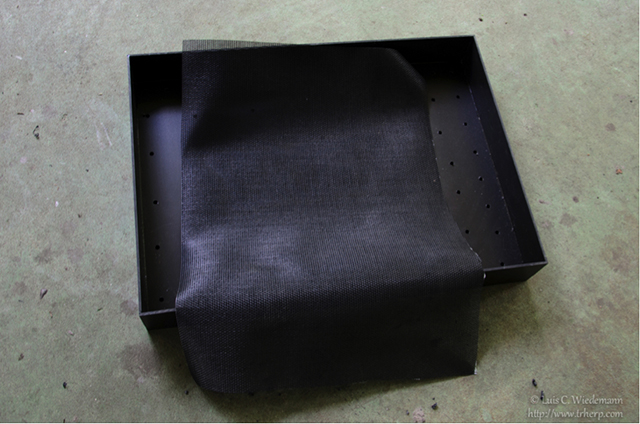
Next cut a piece of fiberglass pet screen to prevent your substrate from falling into the drainage tray.

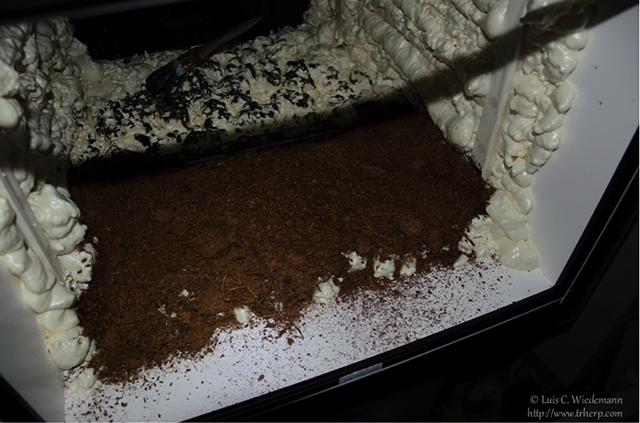
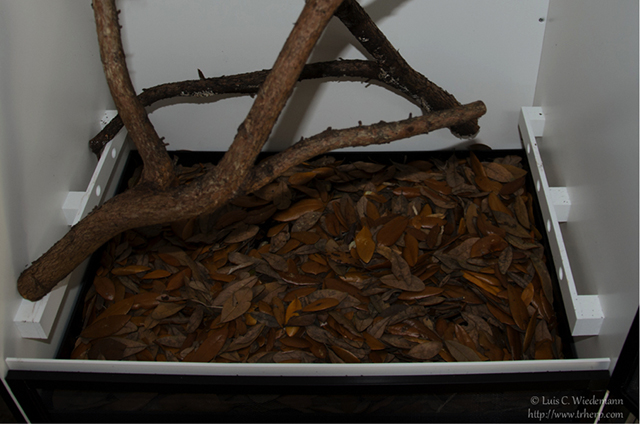
Last but not least, a layer of oak leaves to top it all off. This helps disperse the water and acts as a barrier before the water has a chance to soak into the soil. The leaves also provide an environment for micro fauna to flourish which act like little janitors for your vivarium.
Just a few minor touches before we’re ready to call this one done. We add the bulkhead and mister assemblies to one side.

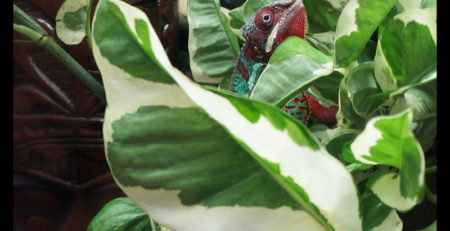
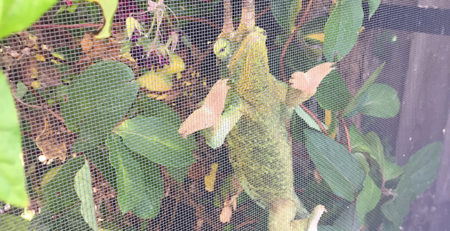
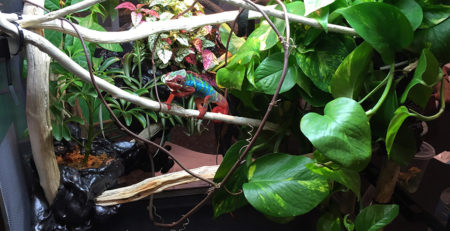
The finished product! I did utilize the branch holders closest to the bottom. This allows me to remove the substrate tray with no rearranging required.
All in all I’m very happy with this enclosure. It’s certainly much easier to work with than the traditional screen cages and as I mentioned before, the weight difference between this and glass is too much to ignore. The solid sides and back provide a clean slate to create any masterpiece you can dream of to match the requirements for many chameleon or Uroplatus species!

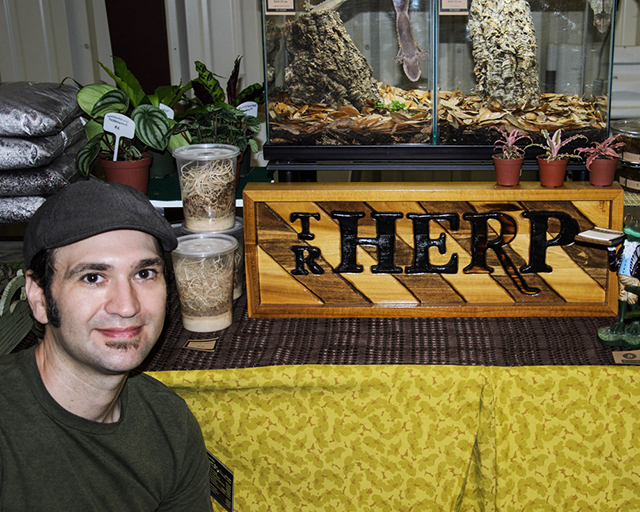
About the Author
Luis Wiedemann is well known for his work with the genus Uroplatus. He runs T.R. Herp where he offers high quality acclimated wild caught and captive bred specimens of many Uroplatus species. He offers information on these fascinating animals at the Uroplatus Information Center
Caging Mentioned in this article:
The Medium Wide Breeder Series Cage is 21.5” wide and 30” high. They will fit two per 4’ row on standard 18″ wide baker’s rack wire shelving. The Medium Wide Breeder Cage comes in a screen front version and an acrylic front version. Five branch holders are included which may be installed in the walls. They will form solid anchors to mount horizontal perching branches and will hold hanging plants. This cage provides an ideal platform for creating a naturalistic environment for your Uroplatus. The Large Breeder Drainage Tray and 3″ Large Breeder Substrate Tray was used in this article.
Medium Wide Breeder Cage Ordering Information: The Medium Wide Breeder Cage comes in both screen front and acrylic front versions. Both of these versions use the Large Breeder Drainage Tray. For those creating naturalistic environments there are both 3″ Large Breeder Substrate Trays and 6″ Large Breeder Substrate Trays.
Click on the dragon to go back to the home page!