Mounting Branches in the Compact Cage System
Mounting Branches in the Compact Cage System
Mounting branches in chameleon cages has been a classic challenge for years. The Dragon Strand Breeder series solved this by including Dragon Ledges standard with all models except for the Compact and Nursery Cage Systems. These exceptions are too small for the “DLedges”. But there definitely is a way to get solid wall anchors to mount branches. In this article I will go over a simple way to mount perching branches in a Compact Cage System.
Our strategy will be to mount branch ledges along the inside and we will attach our perching branches to these. Pictures will be worth more than words so lets get started!
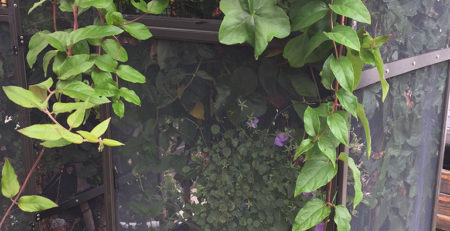
This is the interior of a compact cage. I have already installed a foam area with two pots for planting live plants. This feature has nothing to do with the technique so don’t worry if you have no plans for a foam feature.
Step 1) Select Branch Chunks
Your first job is to select thick branch chunks. 1/2″ diameter and above works well. We are going to be screwing a screw into it so it will have to be thick enough to handle it. These chunks can be a couple inches to the length of the cage. It is up to you. They provide the platform which you will rest or attach your perching branches.
Step 2) Drilling Mounting Holes
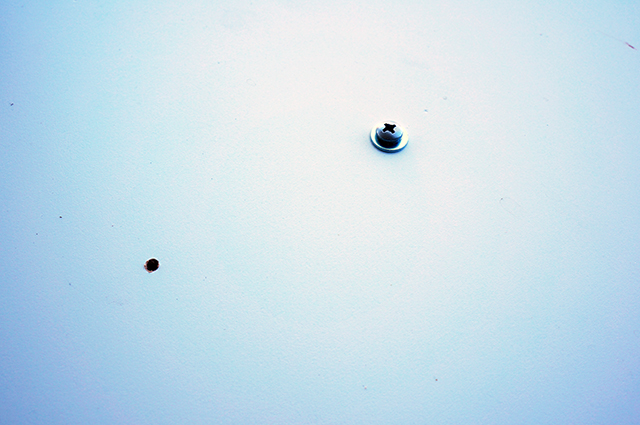
Once you have a basic idea where you will attach your branches and branch chunks, drill holes in the wall that will act as placement for screws to go through. You can get a basic idea of where you should drill by placing the branch chunk on the outside of the cage. Drill at lest two screw holes per branch chunk.
Step 3) Gluing Branch Chunk
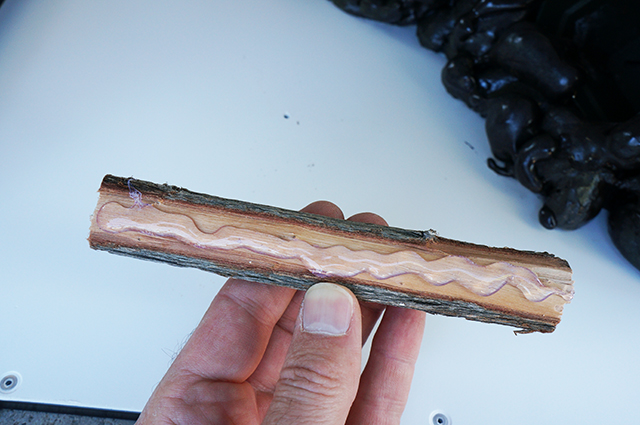
We now use a hot glue gun to give a generous bead of hot glue along the length of the branch chunk.
Step 4) Placing the Branch Chunk
You will now place the branch chunk so that the wood touches the drilled holes. These are where your mounting screws will come through so make sure they lead into solid parts of the branch chunk.
Step 5) Pilot Holes
Now that the hot glue makes the branch chunk stay in place come from the outside of the cage and drill some pilot holes for your screws. These pilot holes should be smaller than the screw width.
Step 6) Install Screws
Once the pilot holes are drilled, your mounting screw can go in. Use pan head screws with a washer to ensure you do not go through the relatively soft PVC plastic.
Step 7) Repeat For More Ledges
Build a anchor network that will allow you perching branches at multiple levels and directions to make full use of the available space.
Step 7) Perching Branches
And now add your perching branches! These branches may be hot glued to the branch chunks for a solid attachment.
Conclusion
Use your imagination and make a cage that uses up as much of the space as is reasonable. The design above gives me the basic climbing requirements and the two potted plants will provide cover and a drinking surface. A misting nozzle in the top right of the top panel will keep the cage nicely misted without blasting the inhabitants.


