Keeping Plants Alive in Your Chameleon Cage

Keeping Plants Alive in a Chameleon Cage
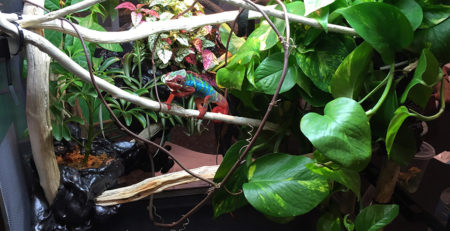
Have you noticed that it is not necessarily easy to keep plants alive in your chameleon cage? There are two main reasons for this and today we will talk solutions. For those that have thought of this before you may have gotten stuck on how to get ¼” tubing into the cage. By the end of this article you will have your solution. First, let’s talk plants and why they do not thrive in our captive environments.
Problem 1 – Lack of Light
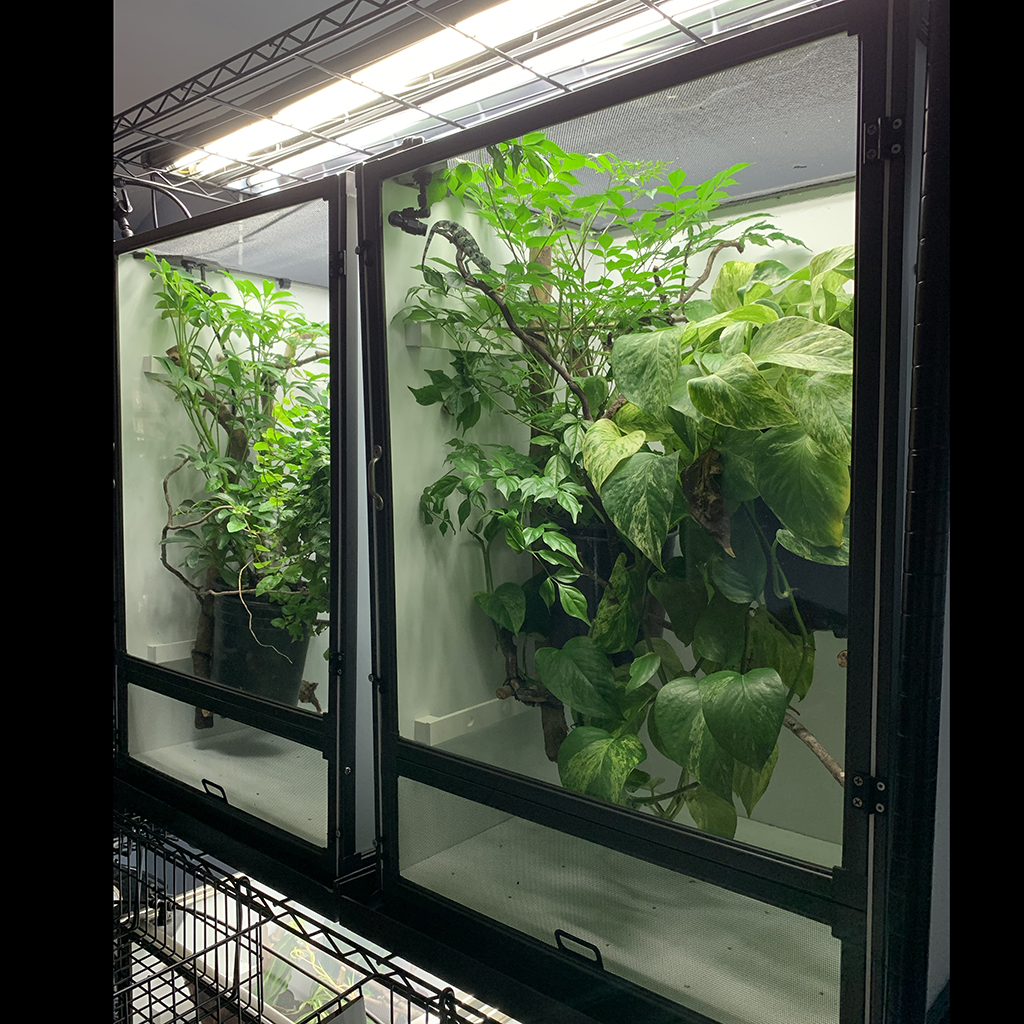
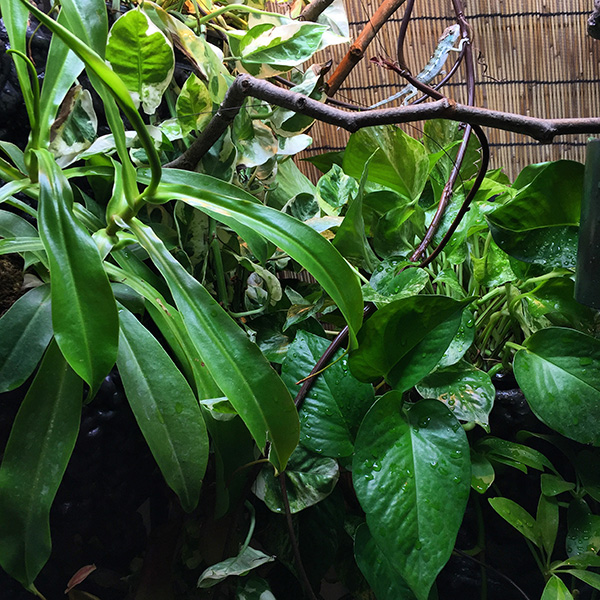
The first main reason plants die in a cage is light. Just one look at posts on social media will show how we tend to grossly underlight our cages. They often will resemble caves with a single weak point of light and the rest of the cage in deep shadow. This is not a healthy environment for chameleons and certainly not for plants which literally eat from light.
Solution 1 – Greater Strength Bulbs and More of Them
The solution to this issue is to invest in strong lighting. And, yes, it will take some money to do it right. The most effective way to light a cage is using current T5 High Output linear fluorescent bulbs. Over my cages I use a quad fixture and run three 6500K daylight bulbs and one appropriate strength UVB bulb. This is enough light to produce growth in many of the low light plants that we call “indoor plants” such as pothos (Epipremnum aureum), Umbrella Plants (Schefflera arboricola), or spider plants (Chlorophytum comosum).
Problem 2 – Lack of Water
The second killer of chameleon cage plants is dehydration. Plants need light for food and water to drink. But, you say, you have misters going on all over the place multiple times a day! How can they be dehydrated? Simply, because the water is not getting to their roots. We arrange our misting systems to hydrate our chameleon which means mist on the leaves. This means that the soil only gets what drips down. While that may work for the Umbrella Plant, plants that form a dense canopy of leaves may have all the water trapped on the leaves to evaporate off or just drip away from the soil to the bottom of the cage.
Solution 2 – Get Water to the Roots
The most simple way of solving the water issue is to make watering your cage plants a weekly habit. Get a nice watering can with a spout that allows you to reach all plants in the cage. Don’t worry about using a small watering can that can navigate amongst the branches.
Another way of solving this problem using equipment you already have (and a couple odds and ends you don’t have yet), is to hook a drip system to your existing misting system.
Automatic Plant Watering Project
There are indoor plant watering pumps and timers that are designed to automate the watering process for indoor houseplants. Indoor plant watering spikes allow you to fill up a container which will water your plant slowly over the course of days. Thus you need only to replenish the water when it runs out. The issue with this is that the water basin is often a plastic bottle you add and, although the plants are happy and the chameleon doesn’t care, it looks pretty bad. An option I really like automatic drip irrigation systems that are designed for this exact purpose! Of course, there is often a misting system running on your chameleon cage. How about using that?
Getting Tubing Into the Cage
No matter what kind of method you decide on, if you are using an automated method you most likely will run into the problem of getting ¼” tubing into the cage. For today’s project, we will build this entry point. We need a clean entry into the cage and if we go through the screen (which we do) we need a way to do away with screen edges that could hurt your chameleon. This is what we will produce:
Materials/Tools needed:
Note:As an Amazon Associate I earn from qualifying purchases.
- ¼” Top Hat Grommets. Easily found on Amazon. Link below. This is the most important part. For everything else you can find alternatives.
- Wedge of PVC or some plastic. We’ll have to make this one or use a standard screen cage mounting wedge.
- Four stainless steel screws
- 7/16” Drill Bit and the drill to drive it
- ¼” tubing to hook up to your pump
- .5 gph drippers (or lower)
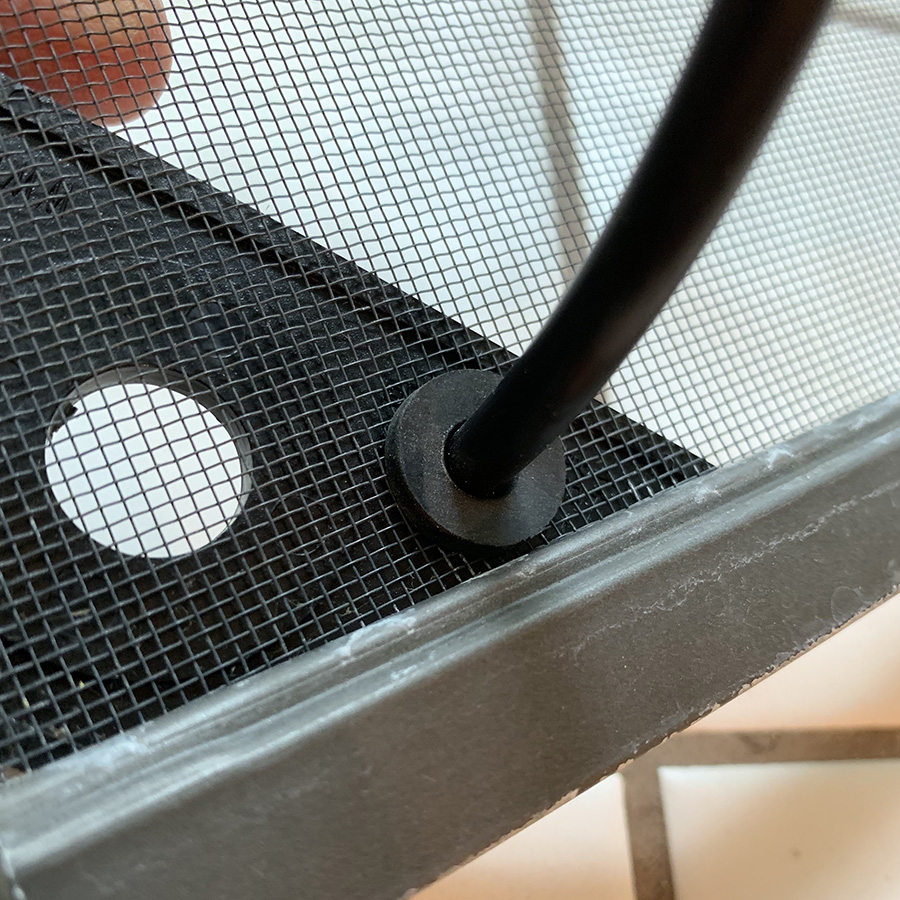
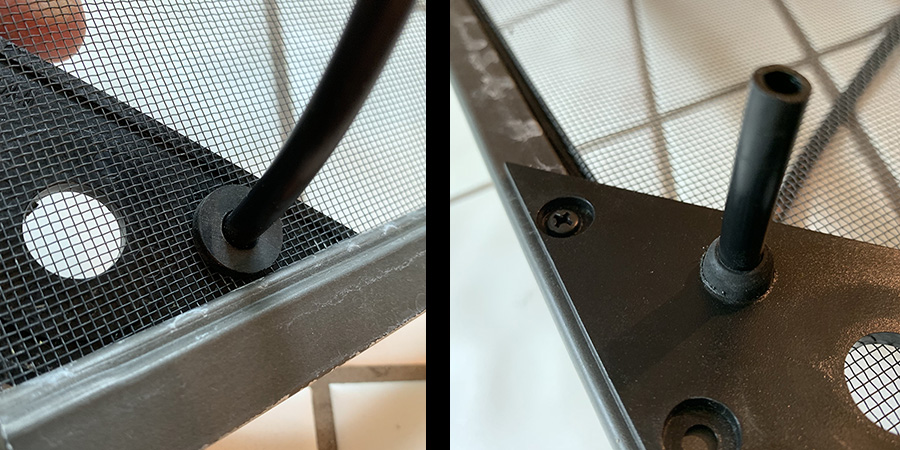
Step 1: Create mounting wedge. We are wanting to create a firm anchor for the entry point of the tubing. If you already have a misting nozzle then you probably already have a wedge in place. You can probably just use this. If not then you will have to create a wedge such as pictured below. We are going to be drilling a pretty large hole in it with our 7/16” drill bit. I suggest drilling the hole before cutting the plastic down to size. This is just because it is easier to control a large piece of plastic when drilling a relatively large hole. Once the hole is drilled, cut the triangle shape out. (If you are making your own). You can also pre-drill mounting holes for your screws. Just use a drill bit no larger than the threads on your screw. We need the screw head to have as much material to hold on to as possible!
This wedge can be made of any sort of plastic that can hold its shape and take holes drilled in it. As long as it is flat you are good! You can get chloroplast material, PVC, or just the standard misting system screen cage mount like I have here.

Note: The wedge does not have to go in the corner! You can drill holes along one edge and mount it on any of the framing sides. Dragon Strand cages have thicker framing than most of the other cages on the market so if you are doing this with any other cage just be careful with your measurements.
Step 2: Install Your Wedge in your chosen location. The screws I linked to can self-tap into the aluminum framing just press firmly and screw the screw into the framing. No pilot hole is necessary, though it will make it easier. If you want to make a pilot hole before screwing in the screw then use a drill bit half the diameter of your screw.
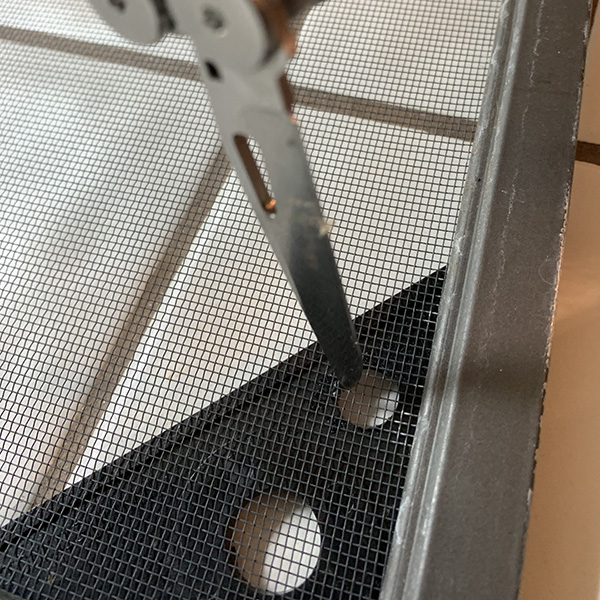
Step 3: Create an Entry. This is where many people freeze up. Poke a hole in my screen?!? Yes, we are going to be poking a hole in your screen just like you do for a misting nozzle or Dragon Ledges. But the grommet we got will hide the hole. To poke a hole I get a sharp knife and push it through the screen into the hole for an X pattern.
Step 4: Place the Grommet in the 7/16” hole and weave your ¼” tubing through. There will be a respectable amount of friction holding the grommet in the hole once the tubing is pushed through. But it will be easy to knock it back out by pulling the tubing out. The assumption is that the grommet is there to hide the frayed screen and not to provide structural support. If you drilled the hole too large or want the grommet placement to be more permanent, then a couple dabs of super glue will take care of that. Just remember that the screen is tuck on the top so there is no clean way to reverse any supergluing!


And you have completed the ¼” tubing insert!
Users of the Monsoon misting system can use this method to get their mist nozzles inside screen cages.
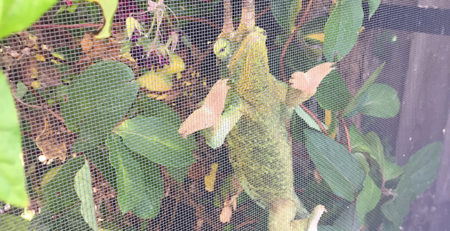
Step 5: Get Drippers to the Plants. Use the 1/4″ tubing and standard 1/4″ tubing elbows and “Ts” to get dripper to each potted plant. This is where planning becomes important. The more water spigots you put on the system the lower the mist pressure will be. The lowest micro-dripper rate I have found so far is .5 gallon per hour. Wind the 1/4″ tubing behind plants and keep it out of sight as much as is possible. The 1/4″ tubing is not suitable as a chameleon perch so we are not so lucky to be able to string it across the middle of the cage. Make sure the drippers go to the soil so they get the water where it needs to be.

Timing. You will need to optimize your misting schedule to accommodate both your chameleon and your plants. Your chameleon will have to take priority so you may be changing out plants to ones that can thrive with whatever watering schedule you have. Many of our ornamentals/indoor plants like to have their soil dry out before the next watering and that won’t be happening with this system. You will get a consistent watering every day. You may now run into he problem of over watering depending on how much you mist your cage. Switching your hydration to fogging, night misting, and a dripper will reduce the amount of misting you have to do to hydrate your chameleon and may be the balance you need to keep you plants happy. (If you would like to explore a more naturalistic hydration that uses less water you can listen to Episode 89: Naturalistic Hydration of the Chameleon Breeder Podcast.)
Pump. This is a great reason to get one of the higher power pumps that can mist more cages. This means they can handle more “load” and this will decrease the effects of putting micro-drippers on the line. Ideally, you would have a pump for the plants and a pump for the chameleons. Then you would have full control!
Conclusion
We are always looking for ways of doing things better. Plants are a critical piece of our captive environment and need the same attention to detail as our chameleons do. And it is well worth it. A living environment is a wonderful place for your chameleon to grow up in and live its life.
Note on shipping list: As an Amazon Associate I earn from qualifying purchases.